Quick Start Guide
From install to your first successful sync in about 10 minutes.
Install Form Bridge from Google Workspace™ Marketplace
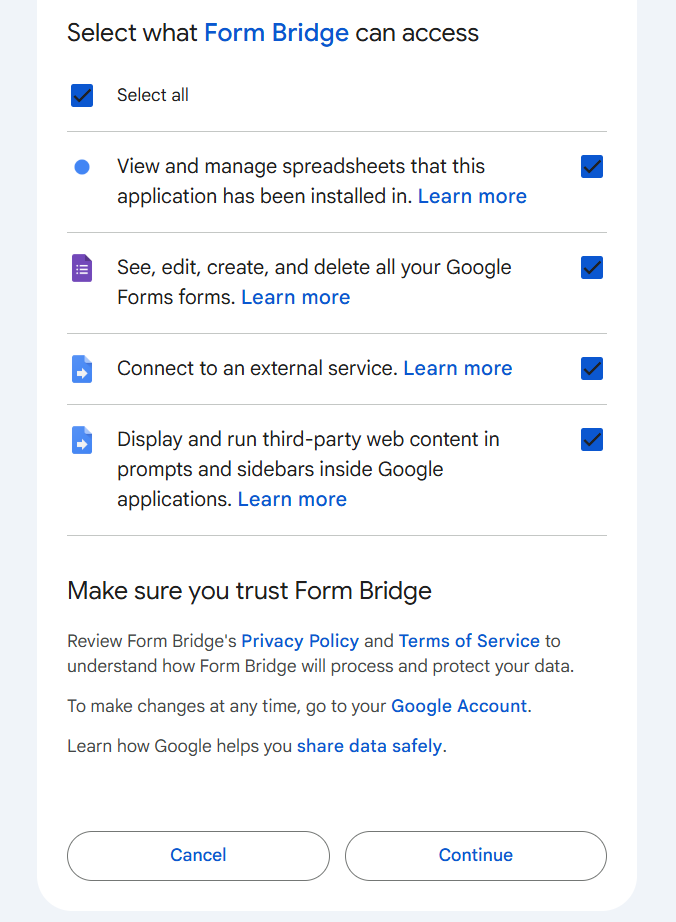
Visit the Form Bridge on Google Workspace Marketplace and click Install.
You'll be asked to grant the required permissions. Form Bridge does not access your form responses, other spreadsheets, or other forms in your account.
Open the Google Sheet linked to your form
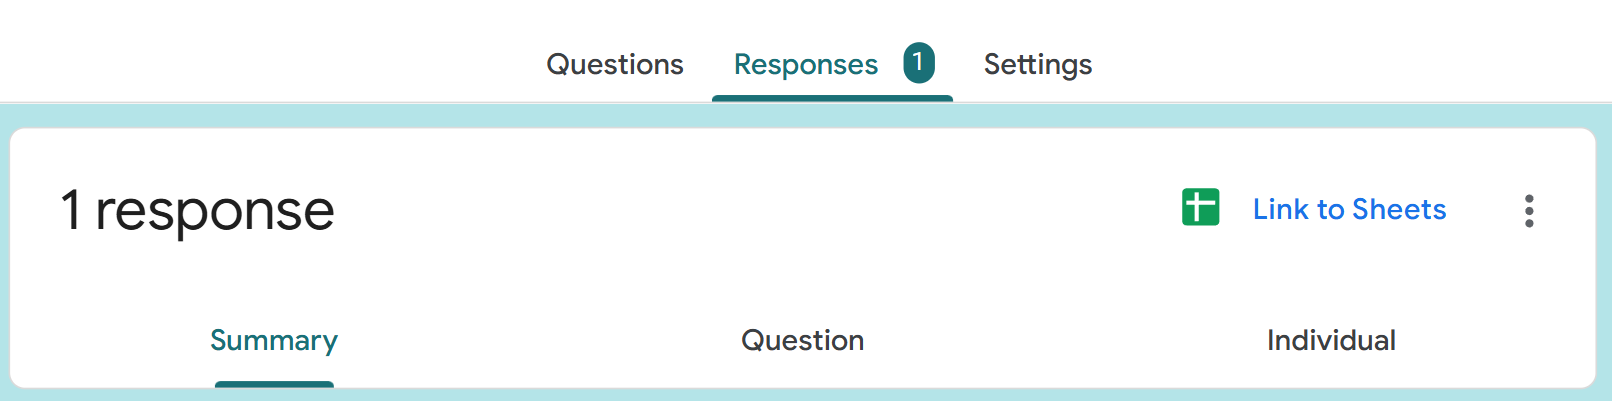
Form Bridge works from the Google Sheet that is linked to your form as its response destination.
In Google Forms, go to Responses tab → click the green Sheets icon → choose "Create a new spreadsheet" or select an existing one. This creates the link Form Bridge uses.
Open Form Bridge from the menu bar
In your Google Sheet, go to Extensions → Form Bridge in the menu bar. If you don't see it, refresh the page after installing.
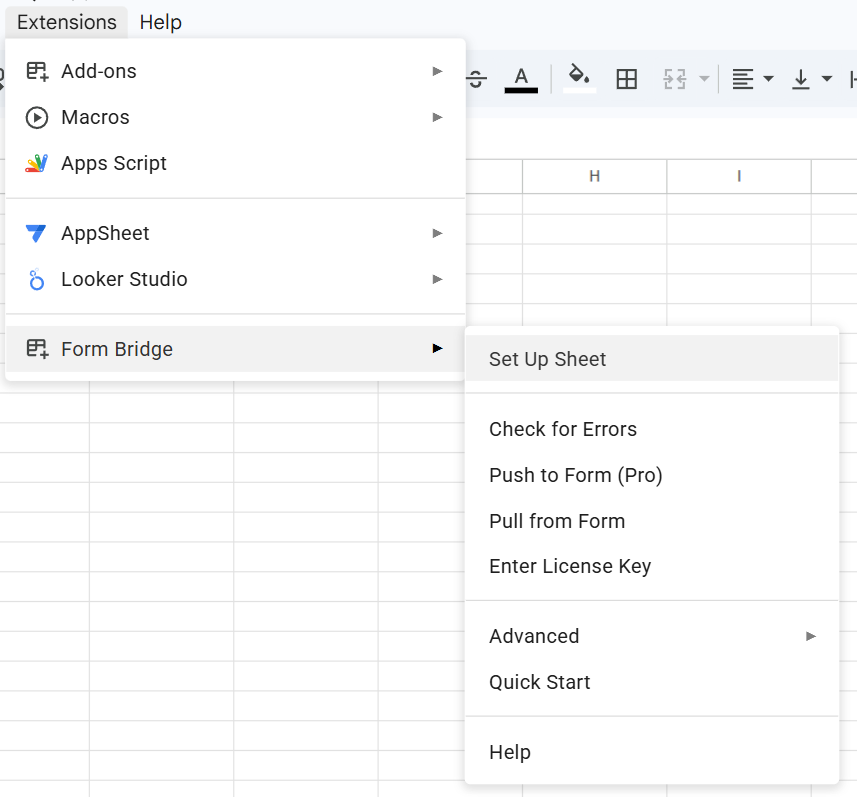
Run Set Up Sheet
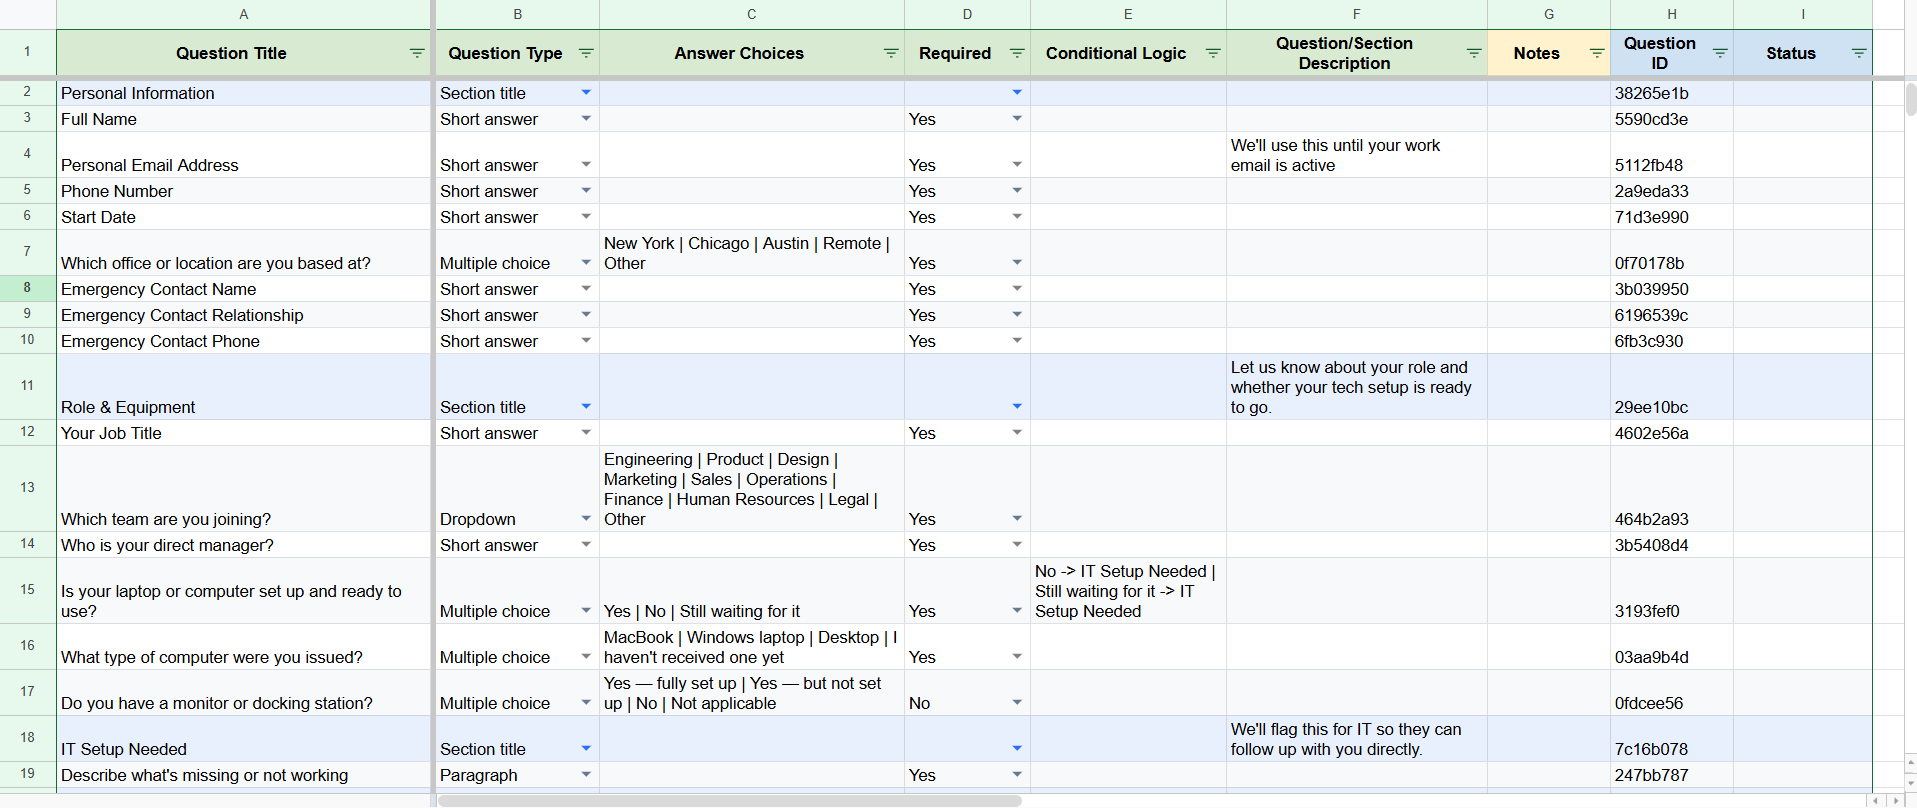
In the menu bar, go to Form Bridge → Set Up Sheet. Form Bridge reads your entire form and creates a sheet called "Form Questions": one row per question, all properties filled in.
Option A | Option B | Option C), required flag, conditional logic, help text, and a Question ID used for tracking. The Status column starts blank.
Edit your questions in the sheet
Now edit anything in the "Form Questions" sheet:
- Rename questions: just type in the Title column
- Update answer choices: edit the Choices column (pipe-separated:
Option A | Option B | Option C) - Reorder questions: cut and paste rows to a new position
- Bulk find & replace: Ctrl+H across the entire sheet
- Toggle required: change Yes to No (or No to Yes) in the Required column
Check for Errors
Before pushing, go to Form Bridge → Check for Errors in the menu bar. Form Bridge checks your edits for errors (unknown question types, malformed conditional logic, missing required fields) and reports any problems.
Fix any flagged rows before continuing. If Check for Errors passes, you're ready to push.
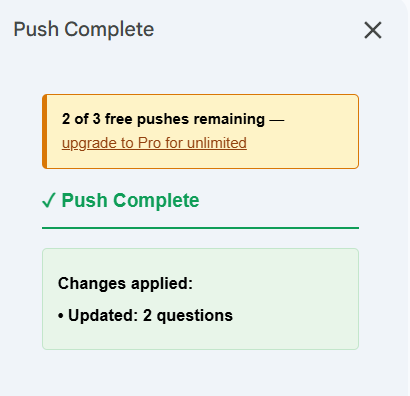
Push to Form
Go to Form Bridge → Push to Form (Pro) in the menu bar. If your changes include any question deletions or type changes, a confirmation sidebar will appear first. Review the list and click Confirm and Push to proceed. Form Bridge pushes all your edits to Google Forms, adding new questions, updating changed ones, deleting removed ones, and reordering, all in a few seconds.
Every new account gets 3 free Push to Form uses. After those, a Pro license is required. See pricing →
Google Workspace™, Google Sheets™, and Google Forms™ are trademarks of Google LLC. Form Bridge is not affiliated with or endorsed by Google LLC.